Product links on this page go to Amazon. If you buy through them, Which Water Softener earns a commission. How we pick and earn
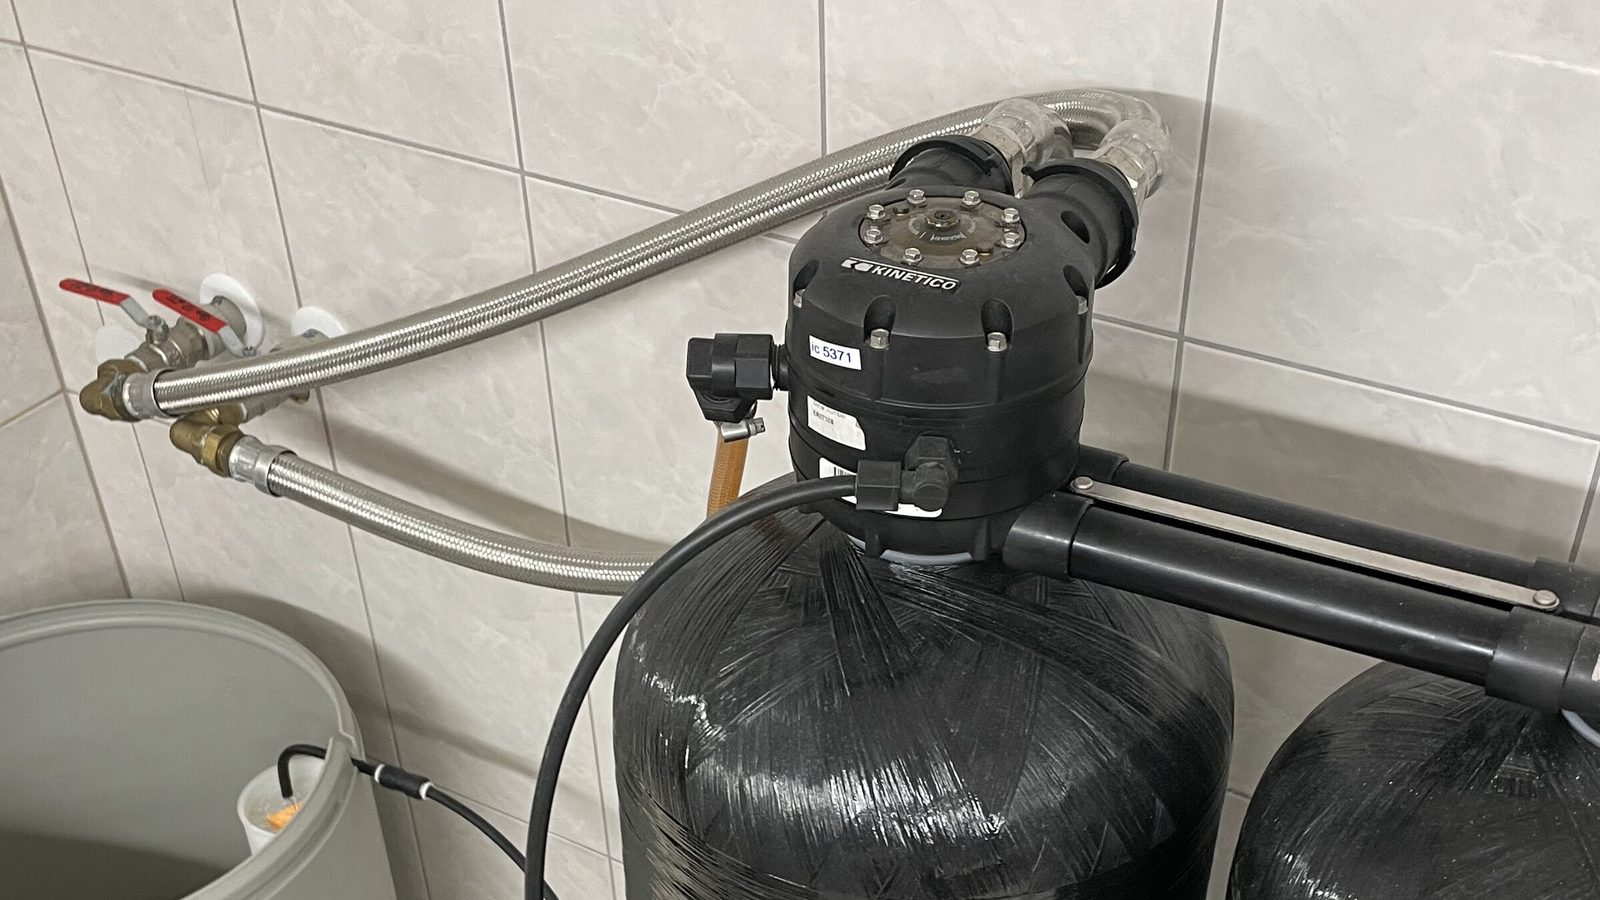
A softener goes on the main water line after it enters the house and before the water heater. The work is ordinary plumbing: two connections to the main, a drain line and a brine line. The manual for your valve is the authority on every step; the details below come from Aquasure’s Harmony manual, which is unusually specific, and they match what Fleck system sellers publish.
Before you start
- Pressure. Aquasure’s limits are 25 to 125 psi. Its manual warns that if daytime pressure is over 80 psi, night pressure may go past the maximum, and calls for a pressure reducing valve in that case.
- Temperature. Cold water only, between freezing and 100 °F. Never run hot water through a softener, and keep the tank out of direct sun. In a Florida garage that means shade and a cover if the unit sits near the door.
- Chlorine. Aquasure caps chlorine or chloramine at 2 ppm and recommends whole-house carbon ahead of the softener above that. Your utility’s report gives the number; the hardness page lists the disinfectant for large Florida utilities.
- Power. A grounded indoor 120 V outlet within reach of the transformer cord: six feet, in Aquasure’s case.
Where it goes
As close as practical to the water meter on city water, or to the pressure tank on a well. Close to a drain: a floor drain, a laundry tub or a standpipe. Somewhere a leak would do the least damage.
Decide which lines stay hard. The softener should feed the water heater, showers, sinks and laundry. Outside faucets and irrigation can stay on hard water: Aquasure’s manual warns that chronic soft water exposure can harm plants, and watering the lawn uses up softening capacity for nothing. Penn State Extension adds toilets and basement sinks to the list of lines that can be bypassed.
The connections
- Bypass valve. It mounts on the softener valve and lets you send water around the softener for service. Arrows on the bypass show the flow direction; inlet and outlet reversed is a common first-day mistake.
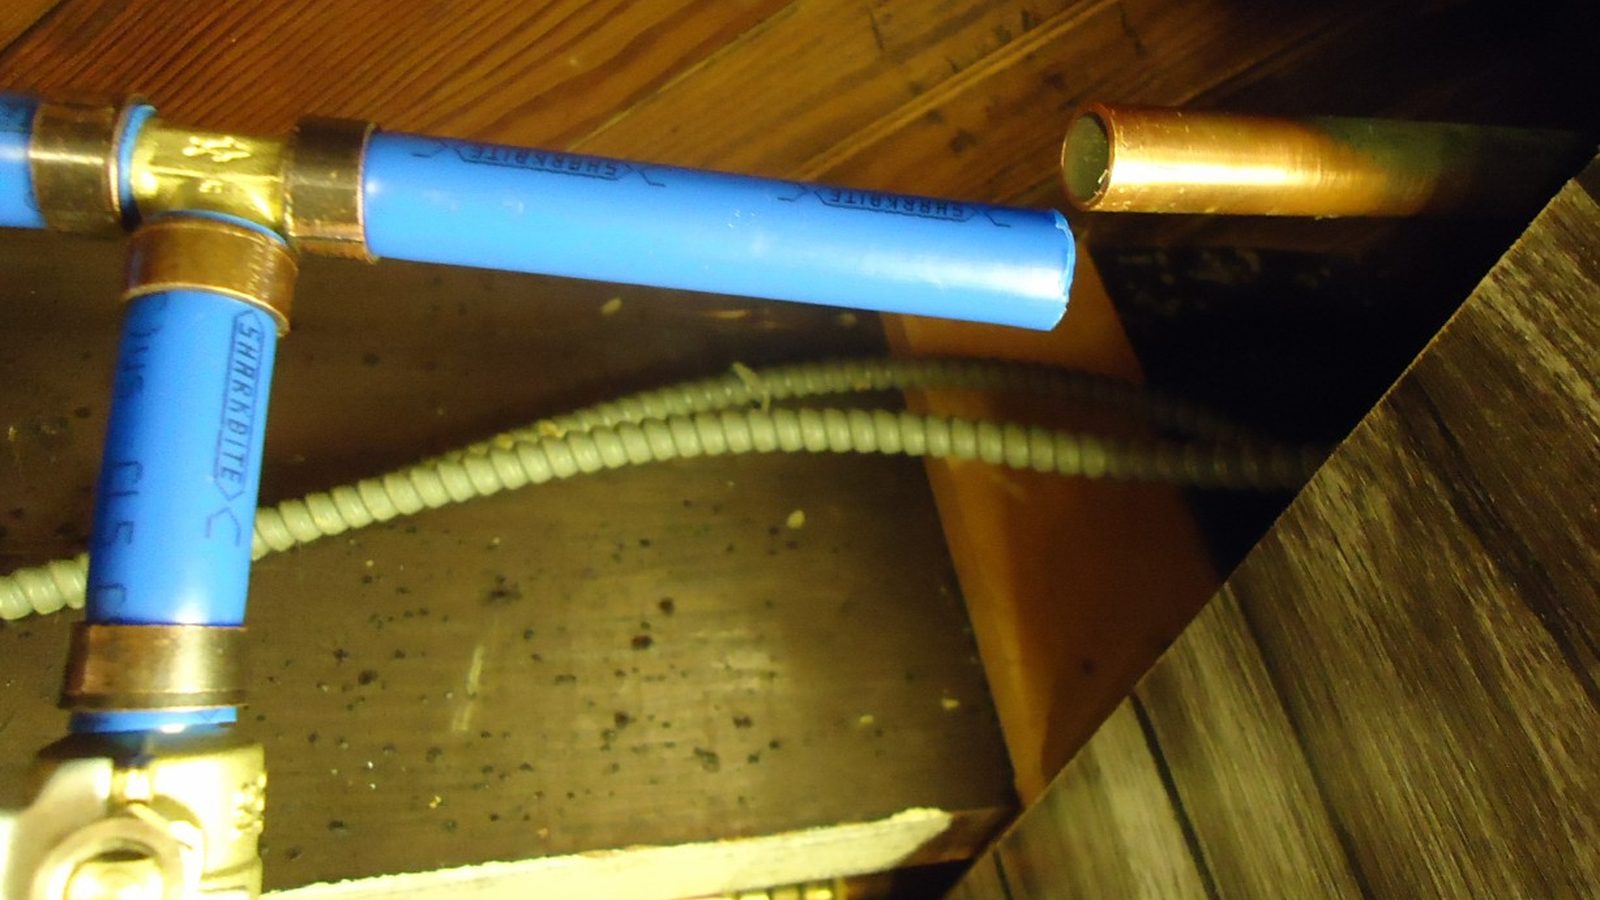
- Inlet and outlet. Copper, brass or PEX to the main. Solder any joints near the valve before connecting it, so the heat does not reach plastic parts.
- Grounding. On copper plumbing, a plastic softener valve breaks the electrical path that the house ground may rely on. Aquasure’s manual calls for a grounding jumper wire between the inlet and outlet pipes.
- Drain line. At least 1/2 in; Aquasure says to go to 3/4 in past 20 feet, with no sags. The end of the line needs a physical air gap above the drain (Aquasure specifies at least 1.5 in) so wastewater can never be drawn back into the softener. Local plumbing code may set its own air gap requirement.
- Brine line. The small tube from the valve to the float assembly in the salt tank.
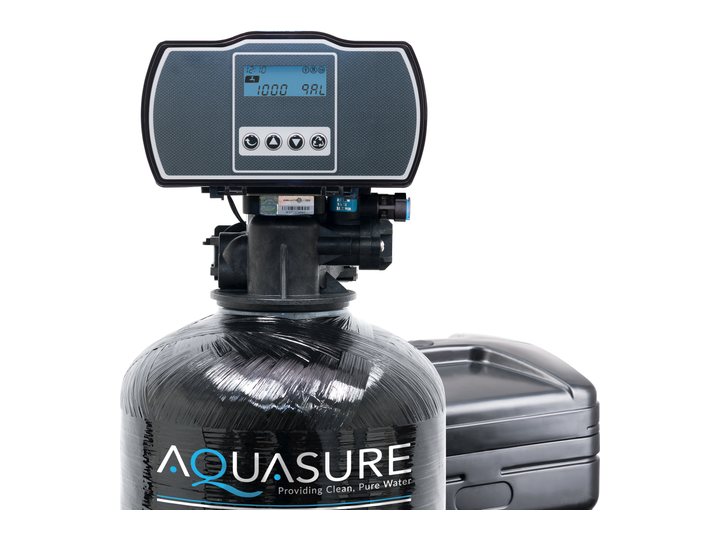
Single-tank softener, metered regeneration
Aquasure Harmony Series 48,000 grain
Aquasure Harmony Series AS-HS48D
A complete kit on Aquasure's own Aquatrol metered valve, with the drain line, brine line and transformer in the box. The owner's manual is unusually clear about limits: 25 to 125 psi, and chlorine or chloramine at 2 ppm at most before a carbon filter goes in front. A 64,000-grain version sits on the same listing.
- Valve
- Aquatrol digital metered, 3/4 in MNPT
- Flow
- 12 gpm maximum (listing)
- Water
- 25–125 psi; chlorine or chloramine 2 ppm maximum (manual)
- In the box
- Valve, resin tank and resin, brine tank, bypass, brine and drain lines, transformer
- Warranty
- 5 years valve, electronics and resin; 10 years tanks
Suits: A first softener install where everything should arrive in one box, on city water within the manual's chlorine limit.
Weigh: The valve is Aquasure's own, so parts and programming come from Aquasure and the wider Fleck parts trade does not apply. Aquasure rates the 48k for 4–5 bathrooms and 5–6 people; size it from your hardness instead.
Start-up
Add salt and a few gallons of water to the brine tank. Aquasure’s sequence starts with two bags of salt and 5 gallons of water. Then:
- Put the bypass in the bypass position and turn the main back on.
- Start a manual regeneration so the valve moves to backwash.
- Open the bypass inlet slowly. Air comes out of the drain line first; a loud knocking means the water is going in too fast.
- Let the valve step through brine draw, rinse and refill on its own.
- When it returns to service, open the bypass outlet and run a softened cold tap until the air clears.
Then program the valve: time of day, regeneration time, and the hardness of the incoming water in grains per gallon. Test the incoming water yourself rather than relying on the default, and add iron at about 4 gpg per ppm if you are on a well.
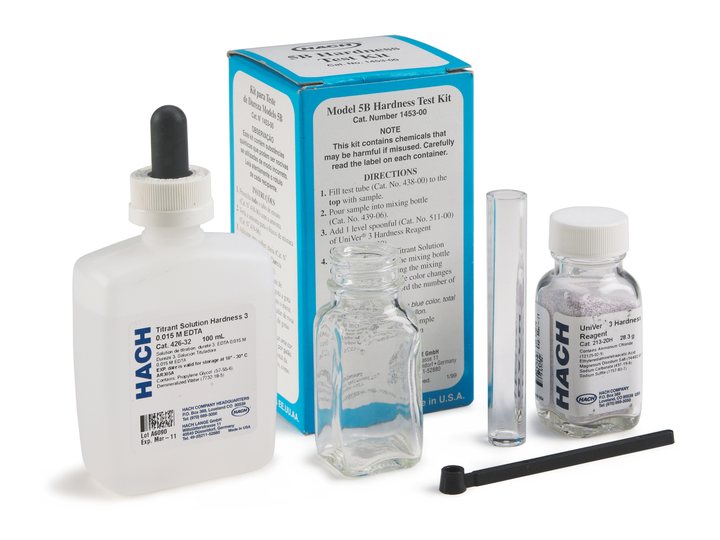
Drop-count titration kit
Hach Total Hardness Test Kit 5-B
Hach 145300
Add indicator, then count drops of titrant until the sample turns blue: each drop is one grain per gallon. That reads hardness directly in the unit a softener valve asks for.
- Method
- EDTA drop-count titration, UniVer 3 indicator
- Range
- 1–30 gpg, one drop per gpg
- Tests
- About 100
Suits: Setting a softener's hardness value, and checking the output after it regenerates.
Weigh: It takes a minute per test and some care with the drops. About 100 tests from the reagents, up to 30 gpg.
After the first week
Test a softened cold tap. Zero or close to it means the installation is working. If it reads hard, check the bypass handles first, then the troubleshooting guide.
A licensed plumber may be required for this work where you live, and the softener’s warranty may depend on an installation that follows the manual.